
Kitchen Plumbing Services In Englewood
Even if you’re not a home chef, it’s always good to have a professional plumber you can trust and count on in case you ever run into any kitchen plumbing problems.
Here at Garvin’s Plumbing and Sewer, our team of plumbers is trained to handle any and all plumbing issues in the kitchen. This includes everything from leaks to problems with your kitchen appliances.
When it comes to kitchen plumbing repair calls from Englewood homeowners, faucets and garbage disposals top the list.
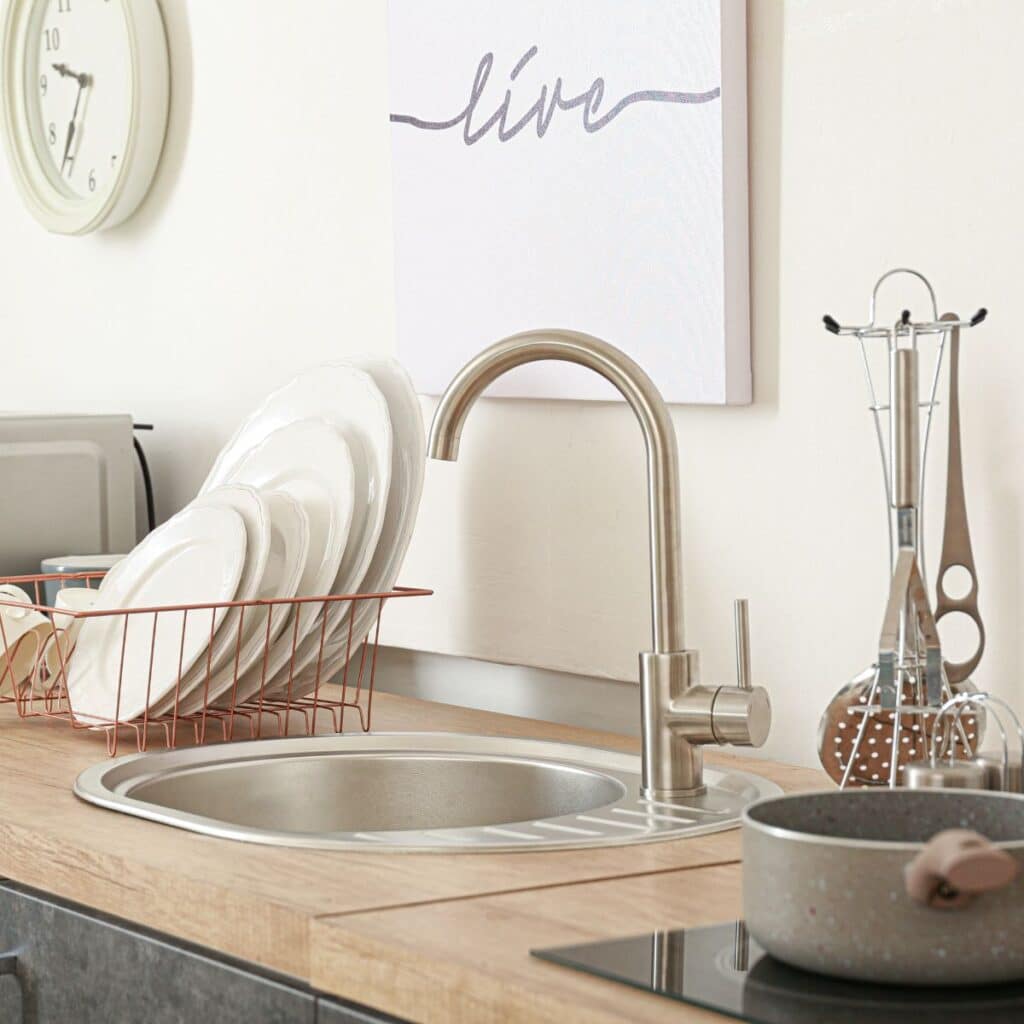
Kitchen Sink Leaking: Common Faucet Issues
There are usually two reasons to call a plumber about faucets — they’re either not working correctly, or you want a new faucet installation. In terms of looks, faucets make a major design statement in your kitchen.
If you’re not happy with your faucets, call Garvin’s to change that. We’re even happy to install a faucet you purchased somewhere else.
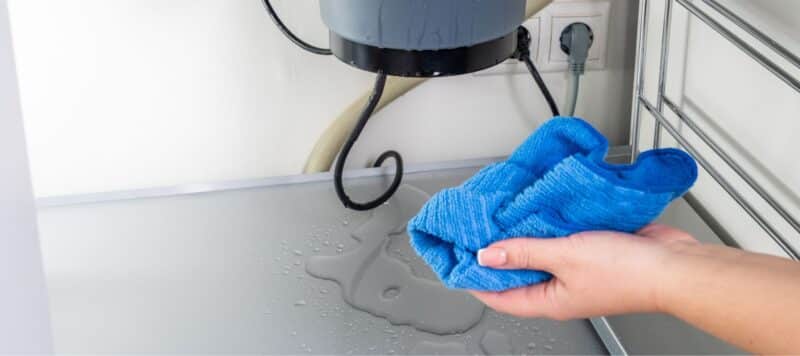
When it comes to faucet repairs, your faucets will inevitably develop leaks over time since they experience frequent use. Never fear, our team offers dependable kitchen sink leak repair to restore it to excellent condition.
This process usually involves replacing what’s known as an O-ring. However, leaks aren’t the only red flag to watch for with faucets. Below are some of the most common warning signs of problems with your faucet.
Low Water Pressure
A common issue with faucets is a lack of pressure. The first thing you should do is clean the aerator, which is the attachment on the tip of the faucet. Usually, you can easily unscrew the aerator and check it for buildup and blockages. Soak it in vinegar and scrub it with a toothbrush to clean it. If the water pressure problems persist after that, it’s time to call a plumber.
Inadequate Water Temperature
Having access to hot water in the kitchen is vital. Higher temperatures wash your dishes more effectively than cold water. If you know your water heater is working properly, but your kitchen isn’t receiving hot water, you should call a plumber to find the problem.
Poor Water Quality
Sometimes faucets can rust on the inside or outside. You don’t want this rust getting into your water. Call a professional plumber on our team to repair or replace your faucet so you can be confident in the quality of your water.
Garbage Disposal Stopped Working: Signs You Need Repair
Your garbage disposal may be the MVP of your kitchen. They help speed up the clean-up process, and a non-functioning system can be a major headache. Whether you need a garbage disposal installation or a garbage disposal repair, Garvin’s is here for you.
When your garbage disposal isn’t working, you’ll notice a few issues with the system. These problems indicate that professional plumbing services are needed to restore it to working condition. A few symptoms that it’s time to call Garvin’s include:
- Foul odors come from the drain.
- Water doesn’t drain when the fixture runs.
- The garbage disposal is leaking from the bottom.
- There is smoke coming from the disposal.
- You flip the on switch and hear odd noises.
Your garbage disposal is a valuable part of your kitchen. When an issue occurs with it, don’t hesitate to get it fixed. Call the plumbers at Garvin’s to get your kitchen plumbing up and running as it should!
Need Kitchen Plumbing Repair? Trust Garvin’s!
For more than 80 years, Garvin’s has helped Englewood homeowners with all kinds of plumbing problems. From kitchen sink leak repair to fixture replacement, you can trust we have valuable solutions for your home. We pride ourselves on providing top-notch workmanship and excellent customer service.
Garvin’s also guarantees you’ll be happy with the plumbing services you receive, or we will make it right.
Your kitchen is too important to settle for plumbing inefficiencies. If you need help with kitchen plumbing repairs or installation, contact Garvin’s Plumbing and Sewer today to schedule an appointment.


More Plumbing

Bathroom Plumbing
Reclaim the peace in your bathroom with five-star services!

Commercial Plumbing
Smooth flowing pipes, happy customers and clients!

Gas Line Plumber
We put safety first. For gas line needs, work with the best!

Leak Detection
Don't stress about hidden leaks – let us find them!

Plumbing Repair
When you have a plumbing concern, we're just a call away!

Tankless Water Heaters
Hot water at your fingertips - now that's convenience!

Water Heaters

Whole-Home Repiping
New plumbing pipes = less stress and fewer drips or leaks!

Broomfield, CO 80020
Englewood, CO 80110
Set Your Garvin's Plumbing Location
Broomfield, CO
Broomfield, CO 80020
Englewood, CO
Englewood, CO 80110